
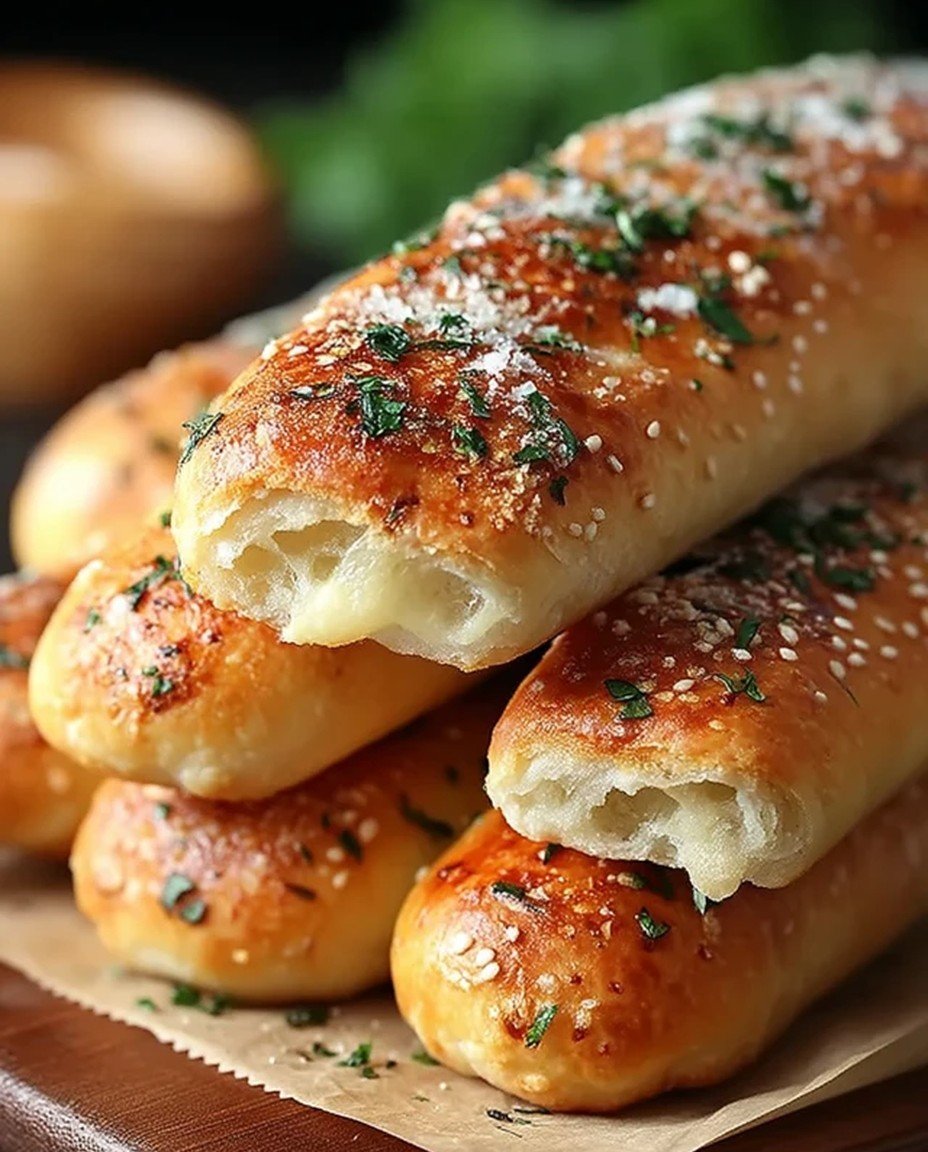
Golden, pillowy breadsticks emerge from the oven, their buttery aroma swirling around like a warm hug on a chilly day. Each bite reveals a soft interior with a slight chewiness, while a sprinkle of garlic and herbs dances across your taste buds, creating an irresistible flavor symphony that keeps you coming back for more.
I still remember the first time I visited Olive Garden and tried their famous breadsticks. I was convinced they were made by culinary wizards. I mean, how could something so simple taste like pure magic? I left that restaurant with a full belly and a secret mission: to recreate those delectable sticks at home. Spoiler alert: it took several attempts (and one slightly smoky disaster) before I nailed this Olive Garden Breadsticks Recipe: The Perfect Copycat.
Why You’ll Love This Recipe
This Olive Garden Breadsticks Recipe is not just easy to whip up; it boasts a unique flavor profile that combines garlic goodness with buttery bliss. Their stunning golden appearance will make you feel like a gourmet chef, even if your cooking skills are more microwaveable dinners than Michelin-starred meals. Plus, these breadsticks are versatile—you can customize them with toppings or dips to suit any occasion or craving.
Ingredients for Olive Garden Breadsticks Recipe: The Perfect Copycat
Here’s what you need for this delicious dish:
- All-purpose flour The backbone of your breadsticks; it gives structure and chewiness. Opt for unbleached flour for the best flavor.
- Yeast This magical ingredient is essential for making your breadsticks rise. Use active dry yeast for the best results, ensuring it’s fresh for optimal fluffiness.
- Warm water Helps activate the yeast; aim for about 110°F (43°C) to create the perfect environment for rising.
- Sugar Adds a touch of sweetness and feeds the yeast, helping it work its rising magic.
- Salt Enhances overall flavor; don’t skip it! It also strengthens gluten formation, giving your breadsticks structure.
- Butter For brushing on top—this adds richness and helps achieve that shiny golden finish when baked.
- Garlic powder Provides that signature garlic flavor we all crave in our breadsticks. Use fresh garlic if you’re feeling adventurous!
- Dried Italian herbs A blend of oregano and basil elevates the flavor profile and makes these sticks sing.
The complete ingredient list, including quantities, can be found directly under the recipe card.
How to Make Olive Garden Breadsticks Recipe: The Perfect Copycat
Follow these simple steps to prepare this delicious dish:
Step 1: Prepare Your Yeast Mixture
In a large mixing bowl, combine 1 cup of warm water (about 110°F) with 2 teaspoons of sugar and 1 packet (2¼ teaspoons) of active dry yeast. Stir gently and let it sit for about 5–10 minutes until frothy. This step is crucial as it ensures your yeast is alive and ready to work its magic.
Step 2: Mix Dry Ingredients
In a separate bowl, whisk together 3½ cups of all-purpose flour and 1 teaspoon of salt. Once combined, gradually add this mix to the yeast mixture while stirring continuously with a wooden spoon or spatula until a dough starts to form.
Step 3: Knead the Dough
Transfer the dough onto a floured surface and knead it for about 5–7 minutes until smooth and elastic. You want it to feel soft but not sticky—like hugging your favorite plush toy without getting lost in fluff!
Step 4: Let It Rise
Shape your dough into a ball and place it in a lightly greased bowl, covering it with a clean kitchen towel. Let it rise in a warm spot until doubled in size—about an hour or so. If you’re feeling impatient (I get it), preheat your oven slightly and turn it off before placing your dough inside.
Step 5: Shape the Breadsticks
Once risen, punch down the dough to release any air bubbles (take that!), then divide it into 12 equal pieces. Roll each piece into long ropes about 6 inches long. Place them on parchment-lined baking sheets with some space between each stick.
Step 6: Bake & Brush
Preheat your oven to 400°F (200°C). Bake the breadsticks for about 15–20 minutes or until golden brown on top. While they’re baking, melt some butter (about ¼ cup) in a small saucepan with garlic powder (1 teaspoon) and dried Italian herbs (1 teaspoon). As soon as they come out of the oven, brush them generously with this heavenly mixture!
Serve immediately while they’re warm and fluffy—garnish them with extra herbs if you’re feeling fancy! These Olive Garden Breadsticks are perfect as appetizers or alongside any meal—trust me; they’ll disappear faster than you can say “breadstick.”
Mastering the Secrets of Cooking
To create the perfect Olive Garden Breadsticks Recipe: The Perfect Copycat, begin by mixing your dry ingredients thoroughly before adding any wet ones. This helps ensure an even rise and prevents clumping. Timing is everything, so keep your dough warm for optimal texture.
Make Your Recipe Unique
For a twist on the Olive Garden Breadsticks Recipe: The Perfect Copycat, try substituting all-purpose flour with whole wheat flour for a nuttier flavor. You can also swap out regular salt for garlic salt to add a savory kick that will have everyone asking for more.
Smart Storage & Reheating
To keep your breadsticks fresh, wrap them tightly in foil or plastic wrap and store in an airtight container at room temperature. When reheating, pop them in the oven for a few minutes to restore that delightful crispy texture you crave.
The Chef’s Golden Tips
- Let the dough rest longer if it’s not rising well; patience leads to fluffier breadsticks.
- Brush with melted butter immediately after baking for that signature flavor and shine.
- Don’t overcrowd your baking sheet; give each breadstick space to breathe and expand.
I still remember the first time I made these breadsticks for my family. Their delighted faces as they pulled apart the warm, fluffy treats made me feel like a culinary superstar!
Conclusion for Olive Garden Breadsticks Recipe: The Perfect Copycat
Indulging in homemade Olive Garden breadsticks brings the warmth of a cozy Italian meal right to your kitchen. With their soft, fluffy texture and delightful garlic butter topping, these breadsticks are perfect for any occasion. Not only are they easy to make, but they also elevate your dining experience with a touch of nostalgia. So why wait? Gather your ingredients and try this Olive Garden Breadsticks Recipe: The Perfect Copycat today; your family and friends will thank you!
Print
Olive Garden Breadsticks Recipe: The Perfect Copycat
- Total Time: 1 hour
- Yield: 12 servings 1x
Description
Golden, pillowy breadsticks emerge from the oven, exuding a buttery aroma that envelops your kitchen. This easy recipe captures the essence of Olive Garden’s famous breadsticks, featuring a delightful combination of garlic and herbs. With a soft interior and a slight chewiness, they’re perfect for any meal, whether as a side dish or a snack. Customize them with your favorite toppings or dips for a versatile treat that enhances any occasion. Enjoy the magic of homemade comfort food with these irresistible breadsticks!
Ingredients
- 3.5 cups all-purpose flour
- 1 packet (2.25 teaspoons) active dry yeast
- 1 cup warm water (about 110°F)
- 2 teaspoons sugar
- 1 teaspoon salt
- 2 tablespoons butter, for brushing
- 1 teaspoon garlic powder
- 1 teaspoon dried Italian herbs
Instructions
- Combine 1 cup of warm water with 2 teaspoons of sugar and 1 packet of active dry yeast in a large mixing bowl.
- Stir gently and let it sit for about 5–10 minutes until frothy.
- In a separate bowl, whisk together 3½ cups of all-purpose flour and 1 teaspoon of salt.
- Gradually add the dry ingredients to the yeast mixture while stirring continuously until a dough starts to form.
- Transfer the dough onto a floured surface and knead it for about 5–7 minutes until smooth and elastic.
- Shape the dough into a ball and place it in a lightly greased bowl.
- Cover the bowl with a clean kitchen towel and let it rise in a warm spot until doubled in size, about an hour.
Notes
Storage: To store leftover breadsticks, place them in an airtight container or wrap them tightly in plastic wrap. They can be kept at room temperature for up to 2 days or in the refrigerator for up to a week. For longer storage, freeze the breadsticks in a freezer-safe bag for up to 3 months.
Reheating: To reheat breadsticks, preheat your oven to 350°F (175°C). Place the breadsticks on a baking sheet and cover them loosely with aluminum foil to prevent them from drying out. Heat for about 10-15 minutes until warmed through. For a softer texture, you can also microwave them for 20-30 seconds.
Serving: Serve the breadsticks warm, brushed with melted butter and sprinkled with garlic powder and dried Italian herbs for that authentic flavor. Pair them with marinara sauce or your favorite dipping sauce for an extra treat. They make an excellent addition to any Italian meal or as an appetizer.
Chef’s Tip: For extra flavor, consider adding grated Parmesan cheese to the butter before brushing it on the breadsticks. Additionally, letting the dough rise in a slightly warm oven can speed up the proofing process and yield a fluffier texture.
- Prep Time: 30 minutes
- Cook Time: 30 minutes
- Category: Appetizers
- Method: Bake
Nutrition
- Calories: 200 kcal
- Sugar: 0
- Sodium: 400mg
- Fat: 4g
- Carbohydrates: 38g
- Fiber: 0
- Protein: 6g
- Cholesterol: 0
FAQs

What ingredients do I need for the Olive Garden Breadsticks Recipe: The Perfect Copycat?
To create the Olive Garden Breadsticks Recipe: The Perfect Copycat, you’ll need all-purpose flour, yeast, sugar, salt, warm water, and olive oil. For the delicious garlic butter topping, prepare unsalted butter, garlic powder, and parsley. These simple ingredients combine to give you that iconic flavor reminiscent of Olive Garden’s famous breadsticks.
How long does it take to prepare the dough for the breadsticks?
Preparing the dough for the Olive Garden Breadsticks Recipe: The Perfect Copycat takes about 15 minutes. After mixing your ingredients and kneading the dough, allow it to rise for approximately 1 hour until it doubles in size. This step is crucial for achieving that light and fluffy texture you love.
Can I freeze the breadsticks after making them?
Yes! You can freeze the breadsticks after baking them using the Olive Garden Breadsticks Recipe: The Perfect Copycat. Allow them to cool completely before wrapping them tightly in plastic wrap or aluminum foil. Store them in an airtight container or freezer bag. When you’re ready to enjoy them again, simply reheat in the oven until warm.
How do I store leftover breadsticks?
To store leftover breadsticks from your Olive Garden Breadsticks Recipe: The Perfect Copycat, place them in an airtight container at room temperature for up to 2 days. For longer storage, refrigerate them for up to a week or freeze them as mentioned previously. Reheating in the oven will help restore their soft texture!


Leave a Comment